Have an itch to go back to Icecrown Citadel or maybe you want to step through the Dark Portal for the first time again? We’ve made this handy guide to help you get started on exactly what’s needed to be able to start playing on a private server for your favorite World of Warcraft expansion.
Pick a Server
The best place to start is with picking which WoW private server you want to play on. There are more than 100 options available but you can help filter it down by language, play style, expansion, etc to help find the best servers for you. Here you can find our list of servers sorted by realm population, and some addition lists filtered by expansion.
In our list you can use the options in the sidebar to filter by: expansion, average population, language, realm type, play style, or whether the server has a shop. Shops can vary, some may include only vanity items such as mounts while others may include gold or levels.
After picking the server and realm you’re going to play on, you still need to go to the website for the server as linked from the server list and register on their site in order to play.
 Download the Client
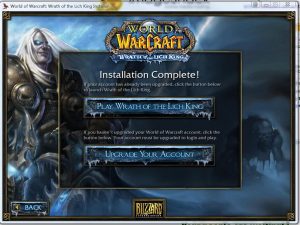
Now that you’ve picked the server you want to play on you need to get the client that works for the expansion the server is using. Most downloads are torrents, but there are also some direct download options available as well. Please note that Blizzard has been known to send copyright notices for players downloading clients for previous expansions on BitTorrent. You can use a VPN (such as Proton VPN), disable seeding, or use a cloud based torrent client such as Bitport to mitigate the chances of this happening.
- Vanilla WoW – Patch 1.12.1 Download
- TBC – 2.4.3 Download
- WotLK – 3.3.5a Download
- Cataclysm – 4.3.4 Download
Update the Realmlist.wtf
Depending on the expansion you are playing on the file you need to update to play on that server may be in a different spot. You should open this file with Notepad or a similar text editor to change the settings.
Occasionally you may also run into an issue with permissions on the realmlist file or your changes not saving, if that happens try following these steps:
- Right-click on the file
- Select “Properties” from the displayed menu
- At the bottom of the panel make sure that “Read Only” is unchecked
 Vanilla WoW & The Burning Crusade
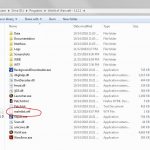
The realmlist.wtf file is located in the main World of Warcraft directory: \World of Warcraft\realmlist.wtf
Delete everything in the file and add the realmlist for the server you want to play on, for example:
set realmlist logon.elysium-project.org

Wrath of the Lich King & Cataclysm
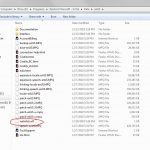
The realmlist.wtf file is located in the language folder under Data: \World of Warcraft\Data\enUS\realmlist.wtf
Note that enUS may show as enGB or as something else depending upon the language version of the client you are using.
Delete everything in the file and add the realmlist for the server you want to play on, for example:
set realmlist logon.warmane.com
Mists of Pandaria
The realmlist.wtf file is located in the WTF folder: \World of Warcraft\WTF\config.wtf
MoP uses a file named “Config.wtf”, open that file in a text editor and change the third line to the realmlist for the server you want to play on, for example:
set realmlist hu.logon.tauri.hu
WoD & Legion
For Warlords of Draenor and Legion it requires a modified wow.exe file, most servers for these expansions have a custom launcher, custom client, or other files you can use to patch the game in order to start playing.
Final Steps
At this point you should be ready to play! Simply launch the client and login with the username and password that you used to register with the server you selected earlier.
